您好,登錄后才能下訂單哦!
您好,登錄后才能下訂單哦!
這篇文章將為大家詳細講解有關CSS3如何實現鼠標移入圖片動態提示效果,小編覺得挺實用的,因此分享給大家做個參考,希望大家閱讀完這篇文章后可以有所收獲。
一、前言
1. transform是什么?
transform的含義是:改變,使....變形;轉換
2. transform的常見屬性有哪些?
transform的屬性包括: translate()/rotate() / skew() / scale() /,分別還有x、y之分,比如:rotatex() 和 rotatey() ,以此類推。
transform:translate()
含義:變動,位移;例如向右位移20像素,向上位移50像素(向左向下為負值) 實例如下
.test01{-webkit-transform:translate(20px,50px);-moz-transform:translate(20px,50px)}transform:rotate()
含義:旋轉;“deg”是表示旋轉的度數 例如“180deg”表示旋轉“180度” 實例如下
.test02{-webkit-transform:rotate(180deg);-moz-transform:rotate(180deg)}transform:skew()
含義:傾斜 實例如下
.test03{-webkit-transform:skew(20deg);-moz-transform:skew(20deg)} transform:scale()
含義:比例 1.8表示以1.8的比例放大 如果是放大整數倍如放大3倍 必須寫成3.0 實例如下
.test03{-webkit-transform:scale(2.5);-moz-transform:scale(2.5)}3. transform的實例
demo01 說明:鼠標移入后 圖片左移 內容依次進入
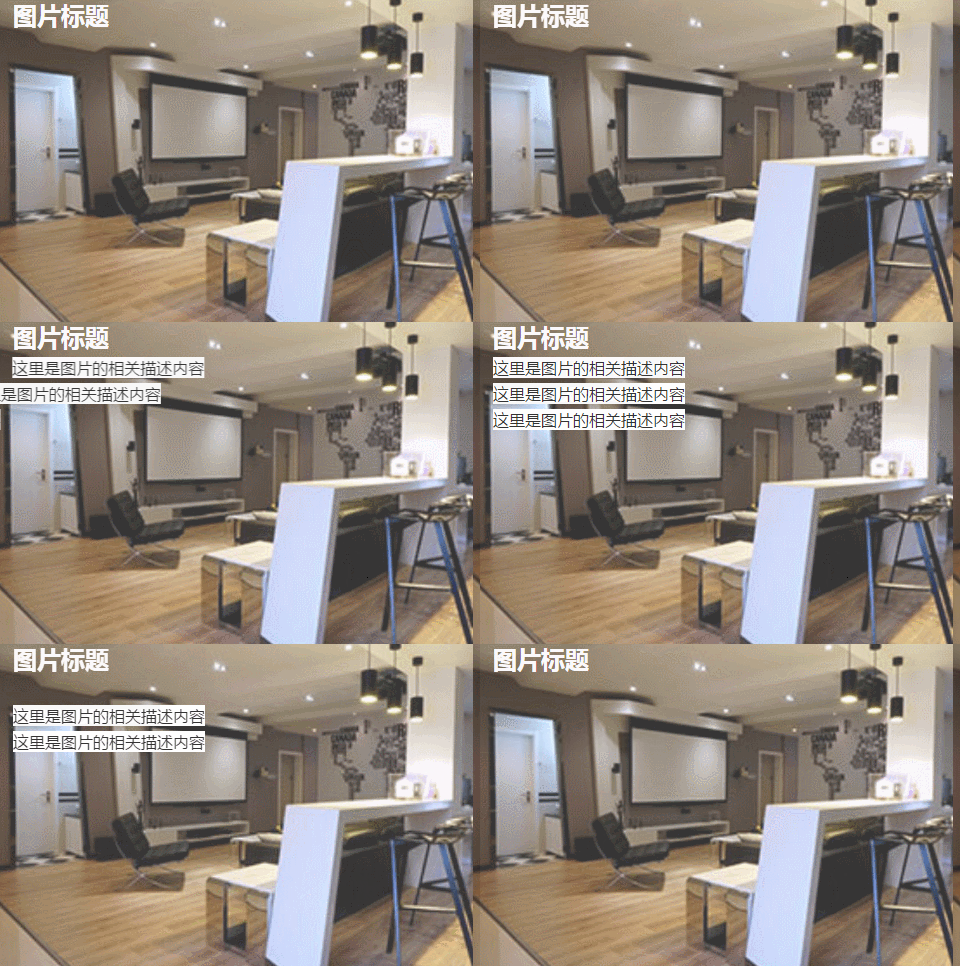
步驟:
1.寫好html代碼并通過css設置好內容和圖片的初始樣式(文字內容都在圖片上);
2.將描述內容通過transform屬性位移到左側 看不到為止(transform:translate(-600px,0););
3.接下來設置鼠標移入時(:hover)的樣式 同樣是利用transform 使內容左移的距離為0(transform:translate(0,0))這里用到transition-delay屬性主要是為了讓三個內容分別延遲不同的時間 形成依次進入的效果。
/*圖片左移 文字依次進入*/
.test1{background: #fff;}
.test1 figcaption p{background: #fff;color:#333;margin:5px 0;transform: translate(-600px,0px);}
.test1 figcaption{padding:20px}
.test1:hover figcaption p{transform: translate(0,0);}

.test1 figcaption p:nth-of-type(1){transition-delay: 0.2s;}
.test1 figcaption p:nth-of-type(2){transition-delay: 0.3s;}
.test1 figcaption p:nth-of-type(3){transition-delay: 0.4s;}
.test1:hover img{transform: translate(-5px,0);}
<!--移動--> <figure class="test1"> <img src="img/altimg05.jpg"> <figcaption> <h3>圖片標題</h3> <p>這里是圖片的相關描述內容</p> <p>這里是圖片的相關描述內容</p> <p>這里是圖片的相關描述內容</p> </figcaption> </figure>
demo02 說明:鼠標移入后 圖片變模糊 矩形從圖片外旋轉進入圖片中指定位置 文字從右側飛過來 并逐漸顯示
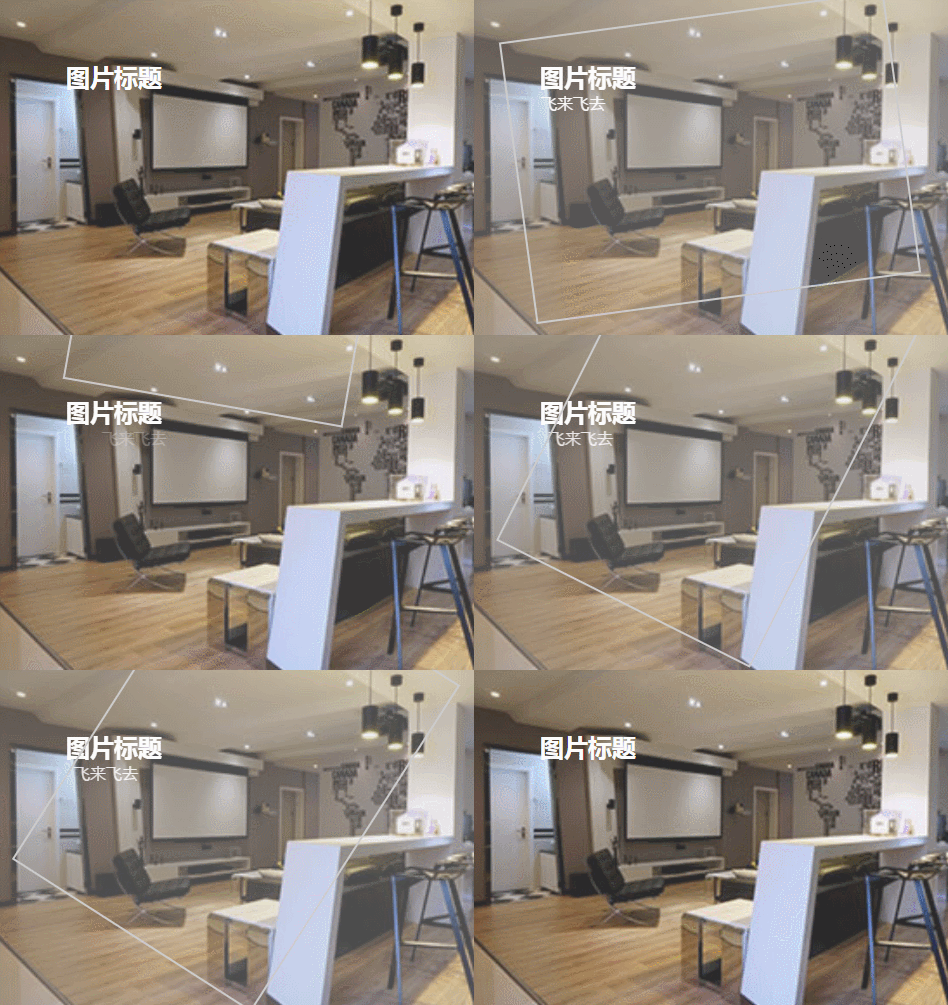
步驟:
1.寫好html代碼并通過css設置好內容和圖片的初始樣式(矩形文字都在圖片上);
2.將矩形通過transform屬性位移到上方 看不到為止 并設置旋轉的角度為0 transform: translate(0,-400px) rotate(0deg);
3.接下來設置鼠標移入時(:hover)的樣式 位移設置為0并旋轉360度 transform: translate(0,0) rotate(360deg);
/*旋轉*/
.test2{background: #ccc;}
.test2 figcaption{width: 100%;height: 100%;}
.test2 figcaption h3{margin:15% 0 0 15%}
.test2 figcaption p{margin-left:15%;transform: translate(50px,0);opacity: 0;}
.test2 figcaption div{border:2px solid #ccc;width: 80%;height: 80%;position:absolute;top:10%;left:10%;transform: translate(0,-400px) rotate(0deg);}
.test2:hover figcaption div{transform: translate(0,0) rotate(360deg);}
.test2:hover img{opacity: 0.6;}
.test2:hover figcaption p{transform: translate(0,0);opacity: 1;}
<!--旋轉--> <figure class="test2"> <img src="img/altimg05.jpg"> <figcaption> <h3>圖片標題</h3> <p>飛來飛去</p> <div></div> </figcaption> </figure>
demo03 說明:鼠標移入后 扭曲的字正常顯示(因為例子中扭曲了90度 所以視覺上看不到文字)

步驟:
1.寫好html代碼并通過css設置好內容和圖片的初始樣式;
2.將文字內容扭曲90度 transform: skew(90deg);
3.接下來設置鼠標移入時(:hover)的樣式 將文字內容扭曲0度 transform: skew(0);
/*扭曲*/
.test3{background:#CCCCCC;}
.test3 figcaption{position: absolute;left:15%;top:15%}
.test3 figcaption h3{transform: skew(90deg);}
.test3 figcaption p{transform: skew(90deg);}
.test3:hover img{opacity: 0.6;}
.test3:hover figcaption h3{transform: skew(0);}
.test3:hover figcaption p{transform: skew(0);}
<!--扭曲--> <figure class="test3"> <img src="img/altimg05.jpg"> <figcaption> <h3>圖片標題</h3> <p>這里是圖片的相關描述內容</p> </figcaption> </figure>
demo04 說明:鼠標移入后 矩形和文字顯示并縮小 圖片也縮小
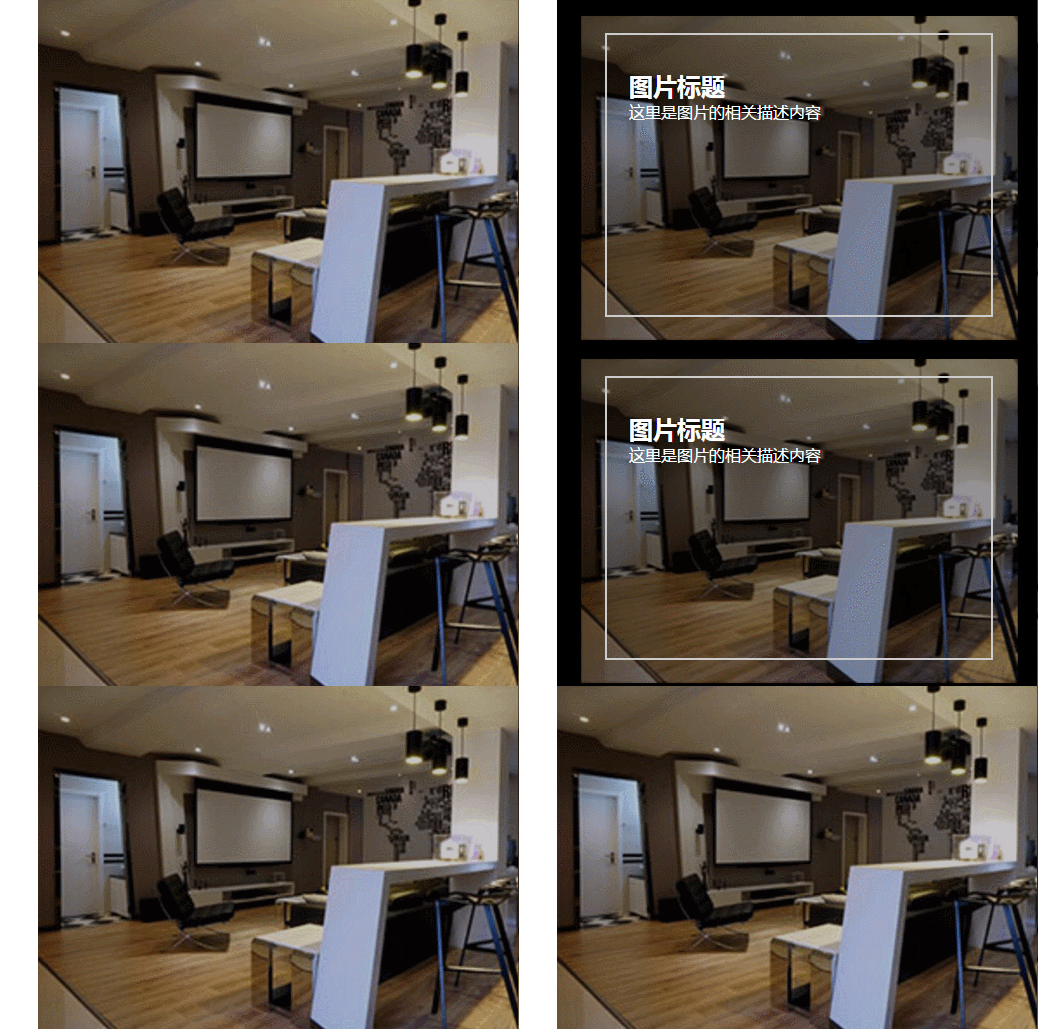
步驟:
1.寫好html代碼并通過css設置好內容和圖片的初始樣式
2.將內容放大1.2倍 這是為了鼠標移入后放大倍數變成1時形成縮小的效果 內容的透明度設置為0;
3.接下來設置鼠標移入時(:hover)的樣式 內容放大倍數變成1也就是原始大小 圖片縮小 透明度都變成1;
/*縮放*/
.test4{background: #000;}
.test4 figcaption{width: 100%;height: 100%;}
.test4 figcaption h3{margin:15% 0 0 15%;opacity:0;transform: scale(1.2);}
.test4 figcaption p{margin-left:15%;opacity:0;transform: scale(1.2);}
.test4 figcaption div{border:2px solid #ccc;width: 80%;height: 80%;position:absolute;top:10%;left:10%;transform: scale(1.2,1.2);opacity: 0;}
.test4:hover figcaption div{transform: scale(1,1);opacity: 1;}
.test4:hover img{opacity: 0.6;transform: scale(0.9,0.9);}
.test4:hover figcaption h3{opacity: 1;transform: scale(1);}
.test4:hover figcaption p{opacity: 1;transform: scale(1);}
<!--縮放--> <figure class="test4"> <img src="img/altimg05.jpg"> <figcaption> <h3>圖片標題</h3> <p>這里是圖片的相關描述內容</p> <div></div> </figcaption> </figure>
demo05 說明:鼠標移入后 內容顯示 并出現井字格
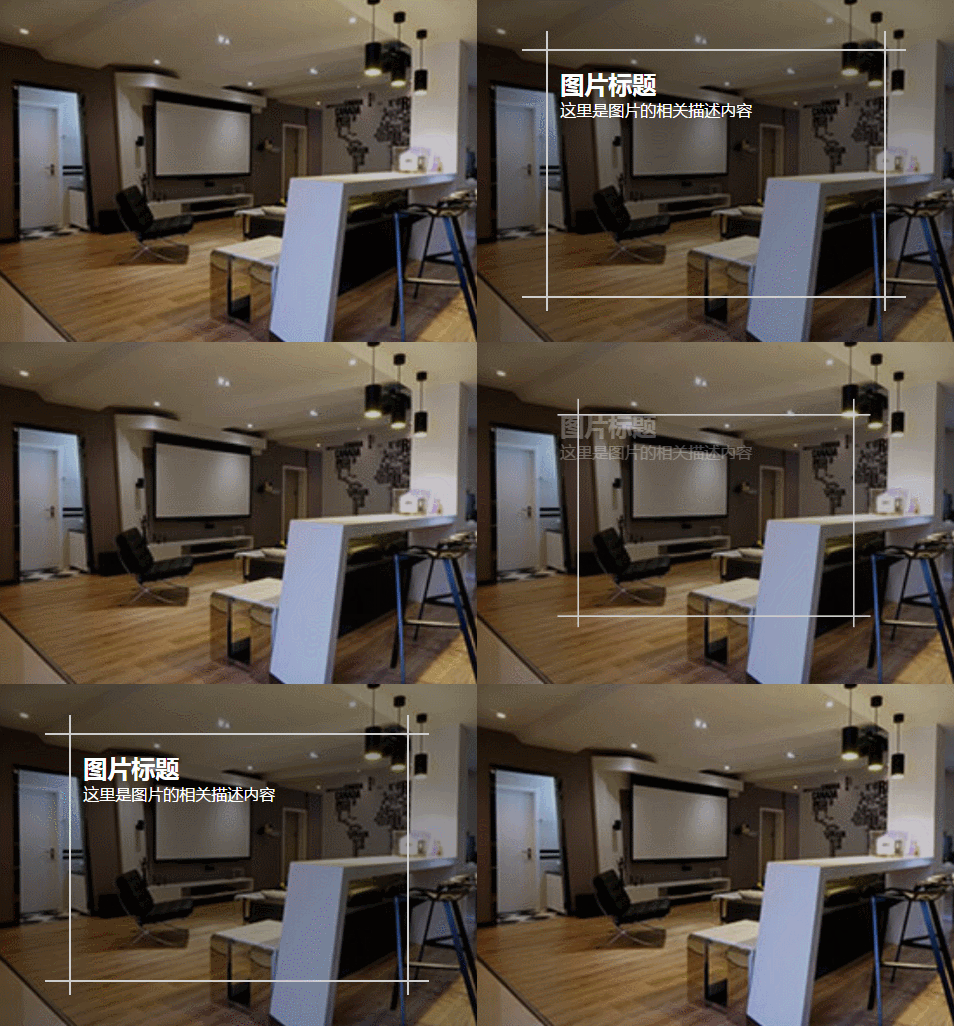
步驟:
1.寫好html代碼并通過css設置好內容和圖片的初始樣式(井字就是兩個矩形的重疊)
2.將兩個矩形縮小0.8 并設置透明度為0 內容也設置透明度為0;
3.接下來設置鼠標移入時(:hover)的樣式 內容透明度設置為1 設置矩形縮放為1 這里利用到transition屬性 主要是為了縮小放大過程逐漸變化;
/*井字格*/
.test5{background: #000;}
.test5 figcaption{width: 100%;height: 100%;}
.test5 figcaption h3{margin: 15% 0 0 18%;opacity: 0;}
.test5 figcaption p{margin-left: 18%;opacity: 0;}
.test5 figcaption div{position: absolute;}
.test5 figcaption div.div01{width: 80%;height:70%;border-top: 2px solid #ccc;border-bottom: 2px solid #ccc;left:10%;top:15%;opacity: 0;transform: scale(0.8);}
.test5 figcaption div.div02{width: 70%;height:80%;border-left: 2px solid #ccc;border-right: 2px solid #ccc;left: 15%;top:10%;opacity: 0;transform: scale(0.8);}
.test5:hover div.div01{opacity: 1;transform: scale(1);transition: transform 0.3s ease-in}
.test5:hover div.div02{opacity: 1;transform: scale(1);transition: transform 0.3s ease-in}
.test5:hover figcaption p{opacity: 1;}
.test5:hover figcaption h3{opacity: 1;}
.test5:hover img{opacity: 0.6;}
<!--井字格--> <figure class="test5"> <img src="img/altimg05.jpg"> <figcaption> <h3>圖片標題</h3> <p>這里是圖片的相關描述內容</p> <div class="div01"></div> <div class="div02"></div> </figcaption> </figure>
以上是幾個簡單的小例子,之所以用figure和figcaption標簽,主要是標簽的語義化,截取動態圖用到的是GifCam第一次用 挺好用的 很可愛 哈哈。
figure標簽主要是用于規定獨立的流內容(圖片,圖表,照片,代碼等)而figcaption與figure標簽配套使用,主要用于定義figure元素的標題
哦,對了,由于這幾個例子寫在一個html里面 所以提取出了部分公用的樣式
body,figure,figcaption,h3,p{margin:0;padding:0;font-family: "微軟雅黑";}
figure{position: relative;overflow: hidden;float: left;width:33.33%;height: 350px;}
figcaption{position: absolute;top: 0;left: 0;color:#fff;}
figure img{width:101%;height: 360px;opacity: 0.8;transition: all 0.35s}
figure figcaption p,h3,span,div{transition: all 0.35s}
@media screen and (max-width: 600px) {
    figure{width: 100%;}
}
@media screen and (min-width:601px) and (max-width: 1000px) {
    figure{width: 50%;}
}
@media screen and (min-width: 1001px) {
    figure{width: 33.33%;}
}
關于“CSS3如何實現鼠標移入圖片動態提示效果”這篇文章就分享到這里了,希望以上內容可以對大家有一定的幫助,使各位可以學到更多知識,如果覺得文章不錯,請把它分享出去讓更多的人看到。
免責聲明:本站發布的內容(圖片、視頻和文字)以原創、轉載和分享為主,文章觀點不代表本網站立場,如果涉及侵權請聯系站長郵箱:is@yisu.com進行舉報,并提供相關證據,一經查實,將立刻刪除涉嫌侵權內容。