您好,登錄后才能下訂單哦!
您好,登錄后才能下訂單哦!
小編給大家分享一下如何使用python把Excel中的數據在頁面中可視化,相信大部分人都還不怎么了解,因此分享這篇文章給大家參考一下,希望大家閱讀完這篇文章后大有收獲,下面讓我們一起去了解一下吧!
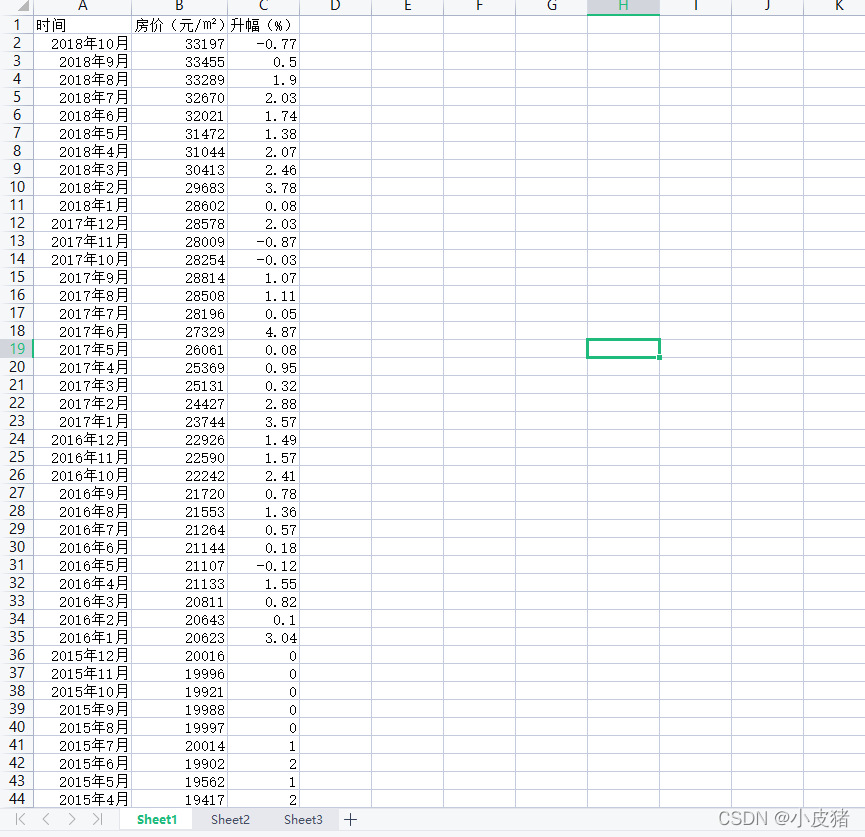
最近我們數據可視化的老師讓我們把廣州歷史房價中的房價數據可視化,然后給我們發了廣州歷史房價.xls,然后看了一下數據確實有點小多,反正復制粘貼是有點費勁的,所以就想借用python幫我把數據修改成我一鍵復制的模樣。
pip install xlrd
通常pip都是帶有的,我們在開發工具中import xlrd就可以啦。
下面是實現切割一年每個月份的方法
import xlrd
path = r'E:\數據分析\07廣州歷史房價.xls'
#sheetName是你這個excel文件中的表,如Sheet1(注意大小寫問題)
sheetName = 'Sheet1'
data = xlrd.open_workbook(path)
table = data.sheet_by_name(sheetName)

# 行數
rowAmount = table.nrows
# 列數
colAmount = table.ncols
# 顯示第n列中所有格中的內容
datas=[]
for rowIndex in range(1,rowAmount):
    datas.append(table.cell_value(rowIndex, 1))

datas.reverse()
index1=0
index2=12
time=2009
while index2<len(datas):
    print(str(time)+"年")
    time=time+1
    # print(str(index1)+"   "+str(index2))
    print(datas[index1:index2])
    index1=index2
    index2=index2+12
print(str(time)+"年")
print(datas[index1:index2-2])
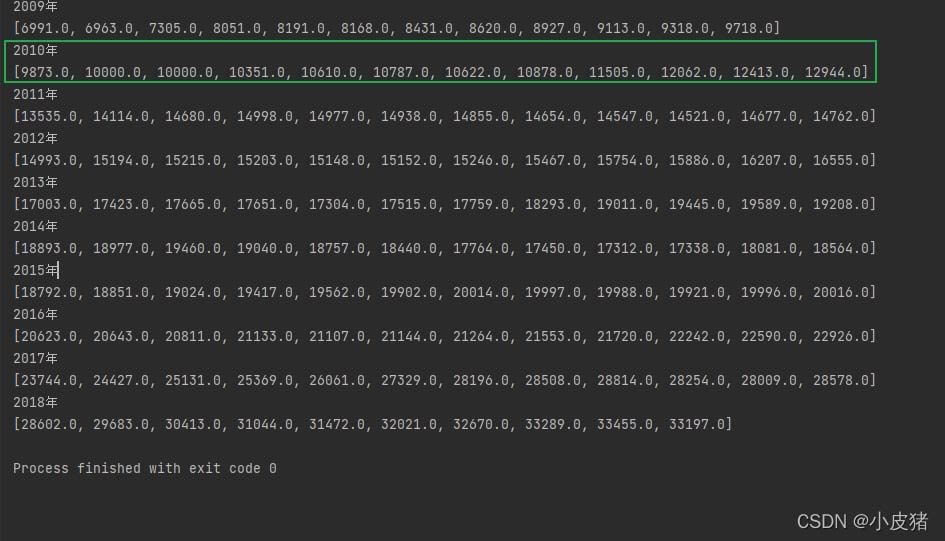
得到的數據:
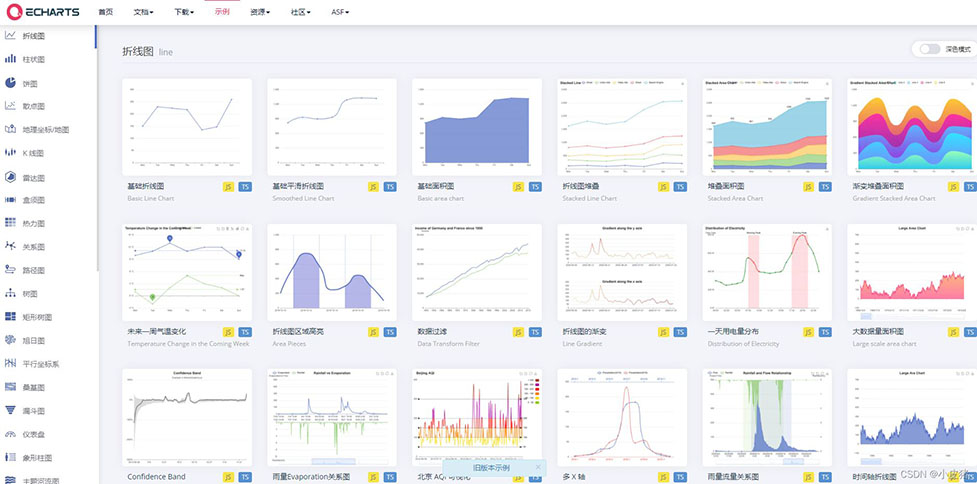
在下面鏈接中找到要表現的樣式:(記得加上echart.js)
Examples - Apache ECharts
ECharts, a powerful, interactive charting and visualization library for browser
https://echarts.apache.org/examples/zh/index.html
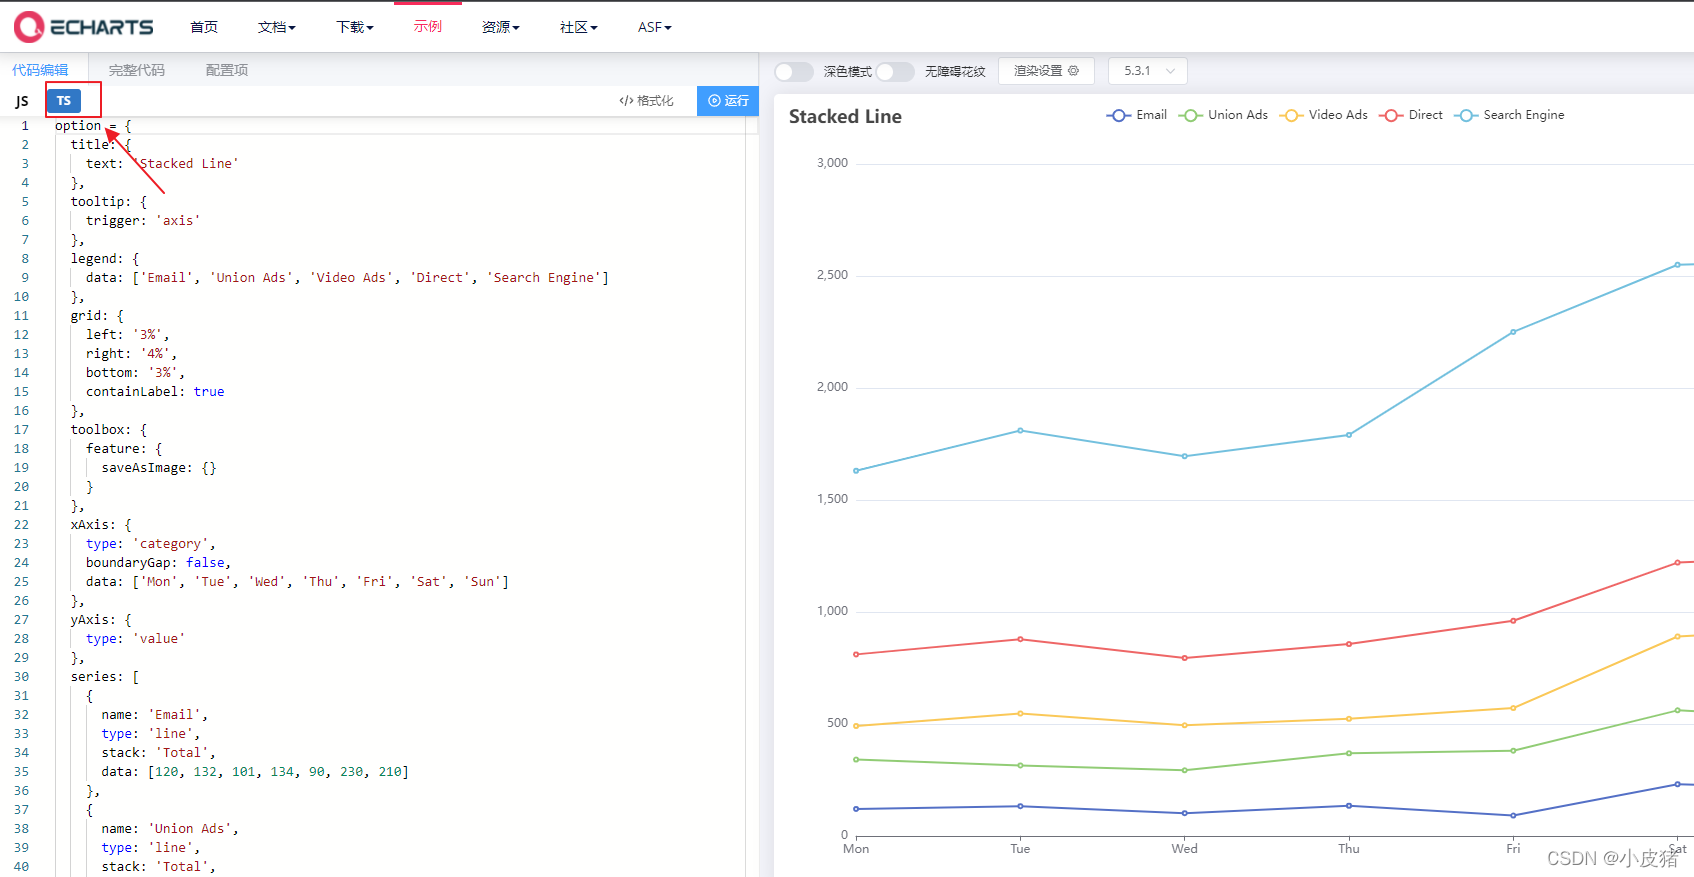
<!DOCTYPE html>
<html>
	<head>
		<meta charset="utf-8">
		<title>廣州歷史房價</title>
		<script src="echarts.js"></script>
	</head>
	<script>
	window.onload = function(){
		// 在<head>中寫浮現窗口
		var a = echarts.init(document.getElementById("main"));
		var b =option = {
  title: {
    text: '廣州歷史房價',

  },
  tooltip: {
    trigger: 'axis'
  },
  legend: {
    data: ['2009年', '2010年', '2011年', '2012年', '2013年','2014年', '2015年', '2016年', '2017年', '2018年']
  },
  grid: {
    left: '3%',
    right: '4%',
    bottom: '3%',
    containLabel: true
  },
  toolbox: {
    feature: {
      saveAsImage: {}
    }
  },
  xAxis: {
    type: 'category',
    boundaryGap: false,
    data: ['一月', '二月', '三月', '四月', '五月', '六月', '七月','八月', '九月', '十月', '十一月','十二月']
  },
  yAxis: {
    type: 'value'
  },
  series: [
    {
      name: '2009年',
      type: 'line',
      stack: 'Total',
      data: [6991.0, 6963.0, 7305.0, 8051.0, 8191.0, 8168.0, 8431.0, 8620.0, 8927.0, 9113.0, 9318.0, 9718.0]
    },
    {
      name: '2010年',
      type: 'line',
      stack: 'Total',
      data: [9873.0, 10000.0, 10000.0, 10351.0, 10610.0, 10787.0, 10622.0, 10878.0, 11505.0, 12062.0, 12413.0, 12944.0]
    },
    {
      name: '2011年',
      type: 'line',
      stack: 'Total',
      data: [13535.0, 14114.0, 14680.0, 14998.0, 14977.0, 14938.0, 14855.0, 14654.0, 14547.0, 14521.0, 14677.0, 14762.0]
    },
    {
      name: '2012年',
      type: 'line',
      stack: 'Total',
      data: [14993.0, 15194.0, 15215.0, 15203.0, 15148.0, 15152.0, 15246.0, 15467.0, 15754.0, 15886.0, 16207.0, 16555.0]
    },
    {
      name: '2013年',
      type: 'line',
      stack: 'Total',
      data: [17003.0, 17423.0, 17665.0, 17651.0, 17304.0, 17515.0, 17759.0, 18293.0, 19011.0, 19445.0, 19589.0, 19208.0]
    },
    {
      name: '2014年',
      type: 'line',
      stack: 'Total',
      data: [18893.0, 18977.0, 19460.0, 19040.0, 18757.0, 18440.0, 17764.0, 17450.0, 17312.0, 17338.0, 18081.0, 18564.0]
    },
	{
      name: '2015年',
      type: 'line',
      stack: 'Total',
      data: [18792.0, 18851.0, 19024.0, 19417.0, 19562.0, 19902.0, 20014.0, 19997.0, 19988.0, 19921.0, 19996.0, 20016.0]
    },
	{
	  name: '2016年',
	  type: 'line',
	  stack: 'Total',
	  data: [20623.0, 20643.0, 20811.0, 21133.0, 21107.0, 21144.0, 21264.0, 21553.0, 21720.0, 22242.0, 22590.0, 22926.0]
	},
	{
	  name: '2017年',
	  type: 'line',
	  stack: 'Total',
	  data: [23744.0, 24427.0, 25131.0, 25369.0, 26061.0, 27329.0, 28196.0, 28508.0, 28814.0, 28254.0, 28009.0, 28578.0]
	},
	{
	  name: '2018年',
	  type: 'line',
	  stack: 'Total',
	  data: [28602.0, 29683.0, 30413.0, 31044.0, 31472.0, 32021.0, 32670.0, 33289.0, 33455.0, 33197.0]
	},
  ]
};


					a.setOption(b);
				}
	</script>
	<body> <!-- 在<body>處完善窗口尺寸 -->
		<div id="main" ></div>
	</body>
</html>
四. 效果
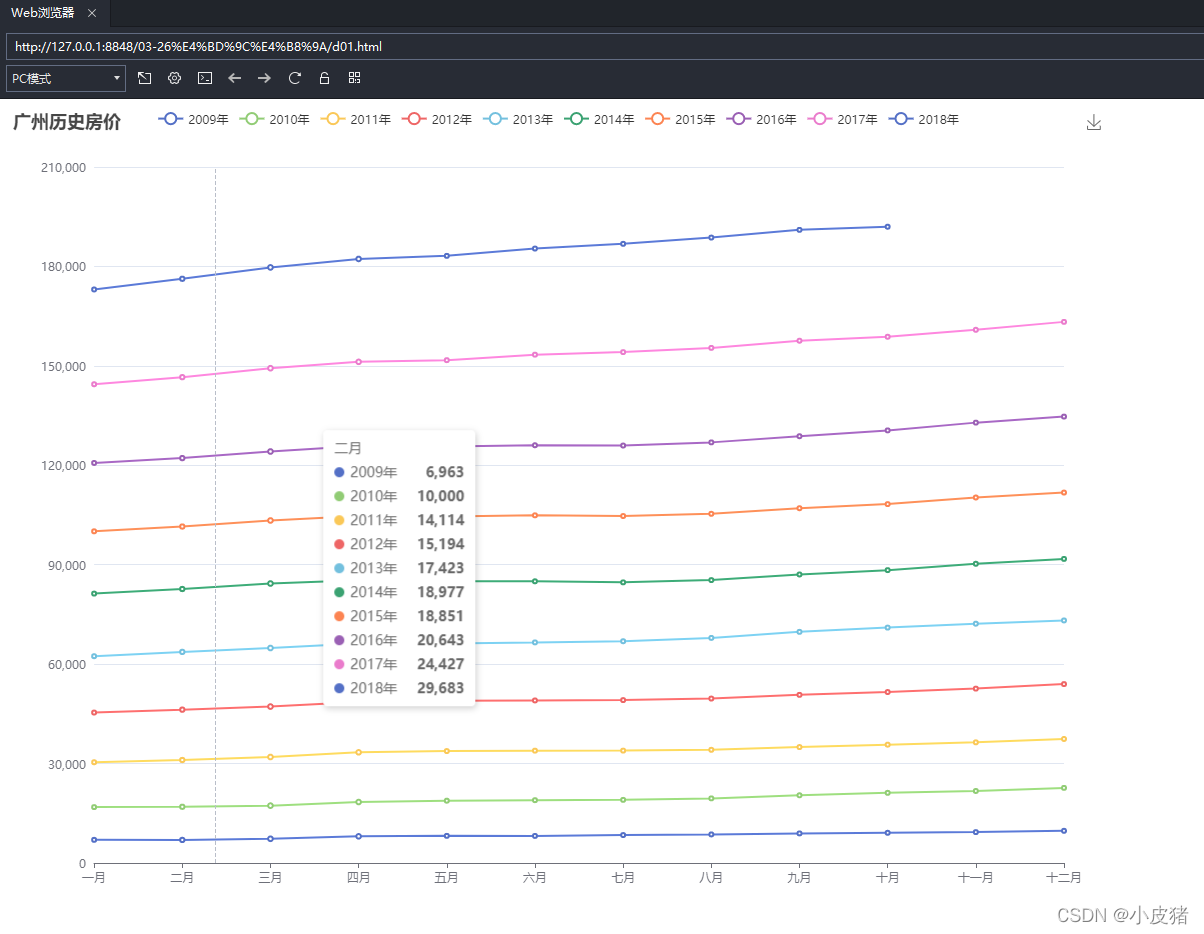
以上是“如何使用python把Excel中的數據在頁面中可視化”這篇文章的所有內容,感謝各位的閱讀!相信大家都有了一定的了解,希望分享的內容對大家有所幫助,如果還想學習更多知識,歡迎關注億速云行業資訊頻道!
免責聲明:本站發布的內容(圖片、視頻和文字)以原創、轉載和分享為主,文章觀點不代表本網站立場,如果涉及侵權請聯系站長郵箱:is@yisu.com進行舉報,并提供相關證據,一經查實,將立刻刪除涉嫌侵權內容。