溫馨提示×
您好,登錄后才能下訂單哦!
點擊 登錄注冊 即表示同意《億速云用戶服務條款》
您好,登錄后才能下訂單哦!
本文實例為大家分享了小程序云開發用戶注冊登錄的具體代碼,供大家參考,具體內容如下
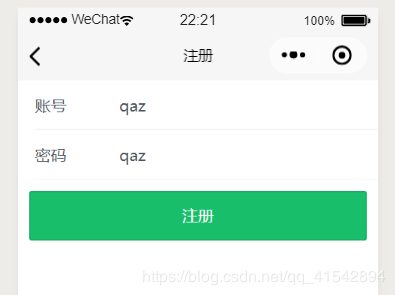
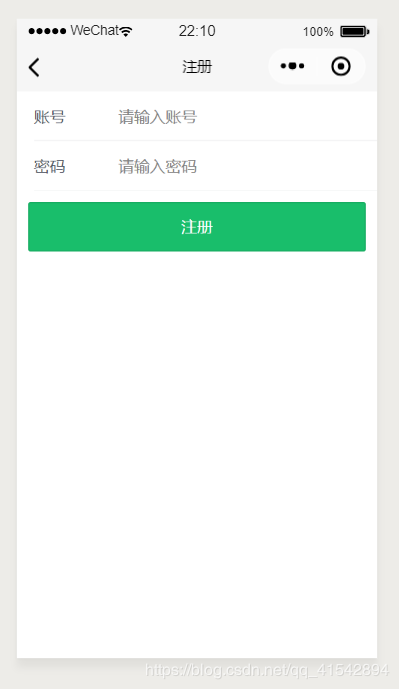
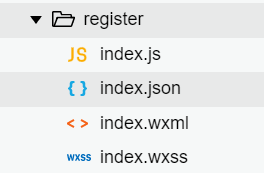
注冊界面和文件
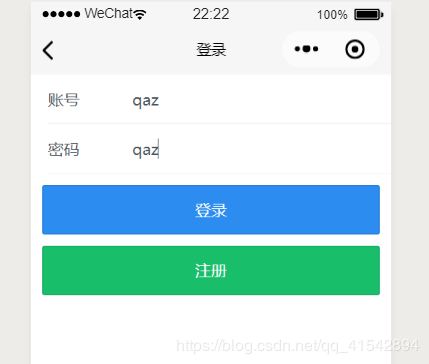
登錄界面和文件
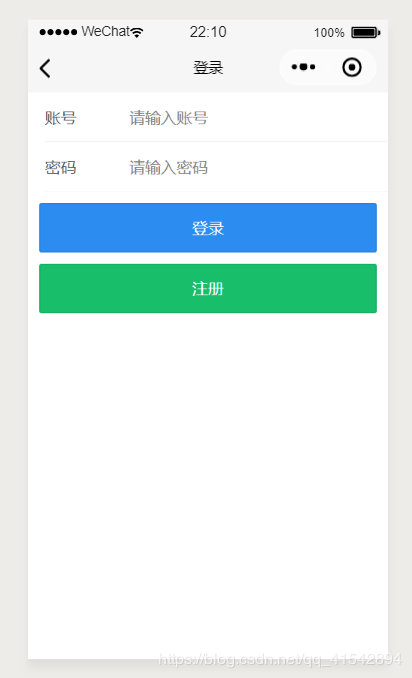
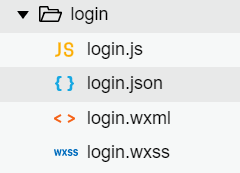
這里的UI使用iviewUI 不懂可以看我的另一篇文章IviewUI
先說注冊界面
json如下
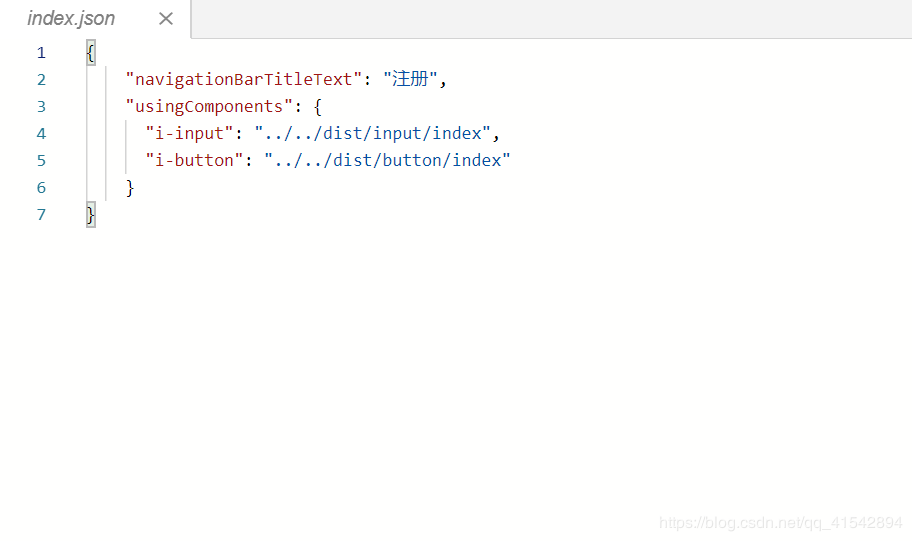
wxml如下
<!--pages/register/index.wxml-->
<view>
<i-input bind:change='inputName' maxlength="15" title="賬號" autofocus placeholder="請輸入賬號" />
<i-input bind:change='inputPassword' maxlength="15" title="密碼" autofocus placeholder="請輸入密碼" />
<i-button bindtap='register' type="success">注冊</i-button>
</view>
js頁面
// pages/register/index.js
let app = getApp();
//獲取云數據庫引用
const db = wx.cloud.database();
const admin = db.collection('adminlist');
 let name = null;
 let password = null;

Page({
 data: {
 },
 //輸入用戶名
 inputName:function(event){
 name = event.detail.detail.value
 },
 //輸入密碼
 inputPassword(event){
 password = event.detail.detail.value
 },


// .where({
// _openid: app.globalData.openid // 填入當前用戶 openid
// })

 // wx.showModal({
 // title: '提示',
 // content: '您已注冊,確定要更新賬號密碼嗎?',
 // success: function (res) {
 // if (res.confirm) {
 // console.log('用戶點擊確定')
 // that.saveuserinfo();
 // }
 // }
 // })

 //注冊
 register(){
 let that = this;
 let flag = false //是否存在 true為存在
 //查詢用戶是否已經注冊
 admin.get({
 success:(res)=> {
 let admins = res.data; //獲取到的對象數組數據
 // console.log(admins);
 for (let i=0; i<admins.length; i++){ //遍歷數據庫對象集合
 if (name === admins[i].name){ //用戶名存在
 flag = true;
 // break;
 }
 }
 if(flag === true){ //已注冊
 wx.showToast({
 title: '賬號已注冊!',
 icon: 'success',
 duration: 2500
 })
 }else{ //未注冊
 that.saveuserinfo()
 }
 }
 })
 },


 //注冊用戶信息
 saveuserinfo() {
 // let that = this;
 admin.add({ //添加數據
 data:{
 name:name,
 password: password
 }
 }).then(res => {
 console.log('注冊成功!')
 wx.showToast({
 title: '注冊成功!',
 icon: 'success',
 duration: 3000
 })
 wx.redirectTo({
 url: '/pages/login/login',
 })
 })
 },
})
因為使用云開發數據庫所以先在app.js中初始化加入下面這段代碼
下面的fighting1323797232-e05624就是我們云開發的環境id
wx.cloud.init({
 env: 'fighting'1323797232-e05624',
 traceUser: true
 })
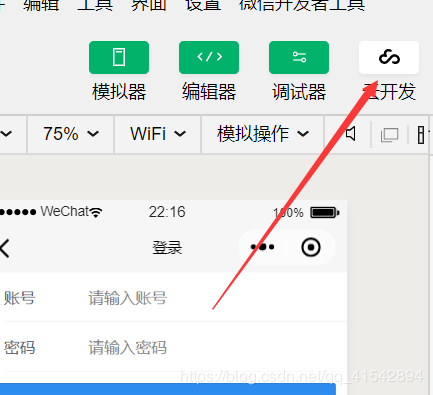
環境ID在這里
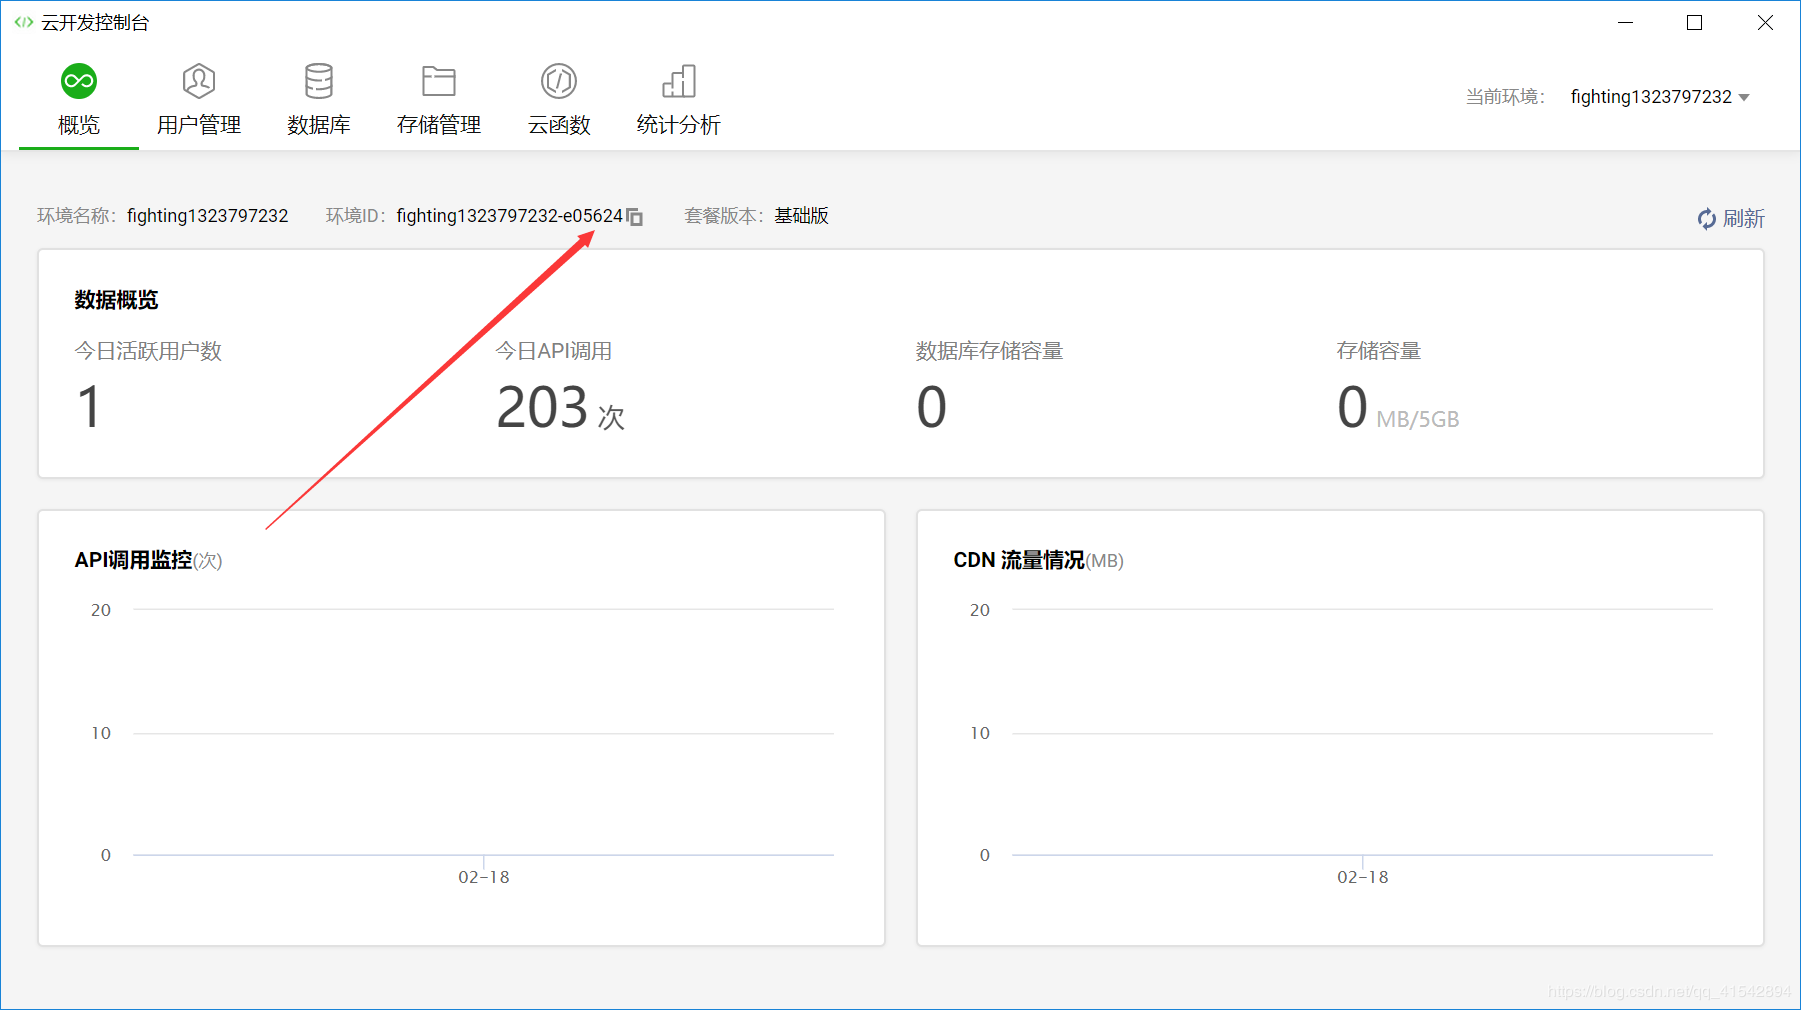
這里需要進云數據庫創建一個adminlist集合

注冊成功后,開始實現登陸功能
login.wxml
<!--pages/login/login.wxml-->
<view>
<i-input bind:change='inputName' maxlength="15" title="賬號" placeholder="請輸入賬號" />
<i-input bind:change='inputPassword' maxlength="15" title="密碼" placeholder="請輸入密碼" />
<i-button bindtap='login' type="primary">登錄</i-button>
<i-button bindtap='register' type="success">注冊</i-button>
</view>
json和以上注冊的json一樣
js邏輯頁面實現如下:
// pages/login/login.js
let app = getApp();
// 獲取云數據庫引用
const db = wx.cloud.database();
const admin = db.collection('adminlist');
let name = null;
let password = null;

Page({

 /**
 * 頁面的初始數據
 */
 data: {

 },
 //輸入用戶名
 inputName: function (event) {
 name = event.detail.detail.value
 },
 //輸入密碼
 inputPassword(event) {
 password = event.detail.detail.value
 },
 //登陸
 login(){
 let that = this;
 //登陸獲取用戶信息
 admin.get({
 success:(res)=>{
 let user = res.data;
 // console.log(res.data);
 for (let i = 0; i < user.length; i++) { //遍歷數據庫對象集合
 if (name === user[i].name) { //用戶名存在
 if (password !== user[i].password) { //判斷密碼是否正確
 wx.showToast({
 title: '密碼錯誤!!',
 icon: 'success',
 duration: 2500
 })
 } else {
 console.log('登陸成功!')
 wx.showToast({
 title: '登陸成功!!',
 icon: 'success',
 duration: 2500
 })
 wx.switchTab({ //跳轉首頁
 url: '/pages/shopcart/shopcart', //這里的URL是你登錄完成后跳轉的界面
 })
 }
 }else{ //不存在
 wx.showToast({
 title: '無此用戶名!!',
 icon: 'success',
 duration: 2500
 })
 }
 }
 }
 })
 },


 register(){
 wx.navigateTo({
 url: '/pages/register/index'
 })
 },

 /**
 * 生命周期函數--監聽頁面加載
 */
 onLoad: function (options) {

 },

 /**
 * 生命周期函數--監聽頁面初次渲染完成
 * 頁面初次渲染完成時觸發。一個頁面只會調用一次,代表頁面已經準備妥當,可以和視圖層進行交互
 */
 onReady: function () {

 },

 /**
 * 生命周期函數--監聽頁面顯示
 * 頁面顯示/切入前臺時觸發
 */
 onShow: function () {

 },

 /**
 * 生命周期函數--監聽頁面隱藏
 */
 onHide: function () {

 },

 /**
 * 生命周期函數--監聽頁面卸載
 */
 onUnload: function () {

 },

 /**
 * 頁面相關事件處理函數--監聽用戶下拉動作
 */
 onPullDownRefresh: function () {

 },

 /**
 * 頁面上拉觸底事件的處理函數
 */
 onReachBottom: function () {

 },

 /**
 * 用戶點擊右上角分享
 */
 onShareAppMessage: function () {

 }
})
以上就是本文的全部內容,希望對大家的學習有所幫助,也希望大家多多支持億速云。
免責聲明:本站發布的內容(圖片、視頻和文字)以原創、轉載和分享為主,文章觀點不代表本網站立場,如果涉及侵權請聯系站長郵箱:is@yisu.com進行舉報,并提供相關證據,一經查實,將立刻刪除涉嫌侵權內容。