您好,登錄后才能下訂單哦!
您好,登錄后才能下訂單哦!
這篇文章將為大家詳細講解有關使用Vue怎么實現一個命令式彈窗組件,文章內容質量較高,因此小編分享給大家做個參考,希望大家閱讀完這篇文章后對相關知識有一定的了解。
使用方式:
this.$Confirm({
 title:'自定義標題'
}).then(res=>{
  console.log(res)
})
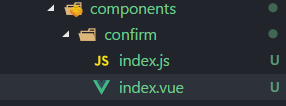
目錄結構

index.vue:組件布局、樣式、交互邏輯
index.js:掛載組件、暴露方法
知識點
在此之前,了解下涉及的知識點
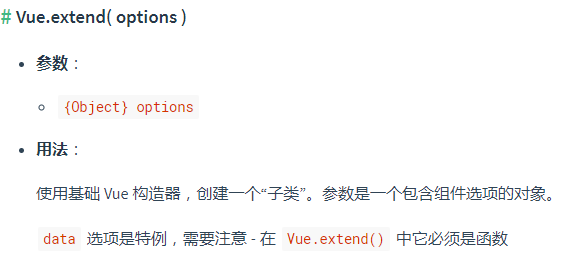
1. extend

使用這個api,可以將引入的vue組件變成vue構造函數,實例化后方便進行擴展
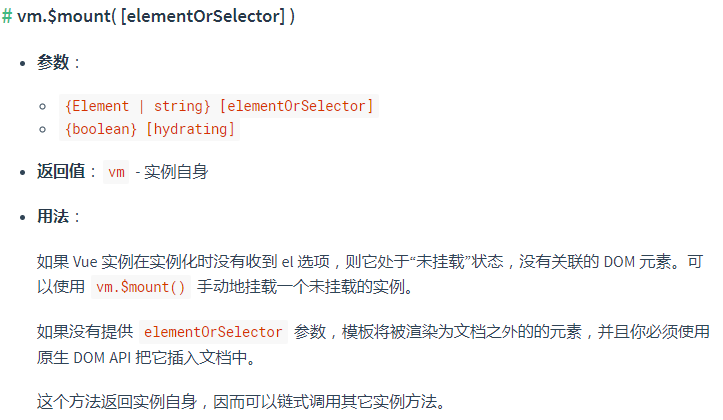
2. $mount

我們希望彈窗組件是在使用時才顯示出來,那么就需要動態的向body中添加元素。使用$mount方法可以手動掛載一個vue實例,和 extend 剛好搭配使用,這個也是彈窗組件命令式的關鍵。
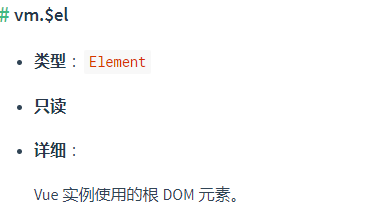
3. $el

既然要添加dom元素,通過實例的$el屬性,正好可以取到dom元素,之后就是使用原生方法進行添加節點啦~
代碼實現
index.vue
<template>
  <div class="wrap">
    <div class="main">
      <div class="content">
        {{title}}
      </div>
      <div class="btn-grounp">
        <div class="btn cancel" @click="cancel">{{cancelText}}</div>
        <div class="btn confirm" @click="confirm">{{confirmText}}</div>
      </div>
    </div>
  </div>
</template>
<script>
export default {
name:'',
data () {
return {
title:'這是一個彈窗',
confirmText:'確定',
cancelText:'取消'
};
},
methods: {
show(cb){
typeof cb === 'function' && cb.call(this,this)
return new Promise(resolve=>{
this.resolve = resolve
})
},
confirm(){
this.resolve('confirm')
this.hide()
},
cancel(){
this.resolve('cancel')
this.hide()
},
hide(){
document.body.removeChild(this.$el)
this.$destroy()
}
},
}
</script><style scoped>
.wrap{
position: fixed;
top: 0;
bottom:0;
left:0;
right:0;
display:flex;
justify-content: center;
align-items: center;
background: rgba(0,0,0,.3);
}
.main{
width: 30%;
padding: 10px;
background: #fff;
box-shadow: 0 0 10px 1px #ddd;
border-radius: 5px;
}
.content{
color:#424242;
font-size: 20px;
}
.btn-grounp{
margin-top: 15px;
display:flex;
justify-content: flex-end;
}
.btn{
margin-left: 15px;
padding: 5px 20px;
border-radius: 5px;
font-size: 16px;
color:#fff;
}
.confirm{
background: lightblue;
}
.cancel{
background: lightcoral;
}
</style>index.js
import Vue from 'vue'
import comfirm from './index.vue'
let newInstance = null
//將vue組件變為構造函數
let ConfirmConstructor = Vue.extend(comfirm)
let init = (options)=>{
  //實例化組件
  newInstance = new ConfirmConstructor()
  //合并配置選項
  Object.assign(newInstance,options)
  //加載dom
  document.body.appendChild(newInstance.$el)
}
let caller = (options)=>{
  //options 為調用組件方法時傳入的配置選項
  if(!newInstance){
    init(options)
  }
  return newInstance.show(vm =>{newInstance = null})
}
export default {
  install(vue){
    vue.prototype.$Confirm = caller
  }
}
main.js
上面我對外暴露的對象中含有install方法,這里可以使用Vue.use注冊組件(使用Vue.use后,會查找install方法進行調用),將組件調用方法掛載到Vue原型上。
import Confirm from './components/confirm'
Vue.use(Confirm)
關于使用Vue怎么實現一個命令式彈窗組件就分享到這里了,希望以上內容可以對大家有一定的幫助,可以學到更多知識。如果覺得文章不錯,可以把它分享出去讓更多的人看到。
免責聲明:本站發布的內容(圖片、視頻和文字)以原創、轉載和分享為主,文章觀點不代表本網站立場,如果涉及侵權請聯系站長郵箱:is@yisu.com進行舉報,并提供相關證據,一經查實,將立刻刪除涉嫌侵權內容。