溫馨提示×
您好,登錄后才能下訂單哦!
點擊 登錄注冊 即表示同意《億速云用戶服務條款》
您好,登錄后才能下訂單哦!
本文小編為大家詳細介紹“div+css樣式怎么實現帶小三角的tooltips效果”,內容詳細,步驟清晰,細節處理妥當,希望這篇“div+css樣式怎么實現帶小三角的tooltips效果”文章能幫助大家解決疑惑,下面跟著小編的思路慢慢深入,一起來學習新知識吧。
代碼如下:
<!DOCTYPE html>
<html>
    <head>
        <meta charset="utf-8" />
        <title></title>
        <style type="text/css">
            .tooltips {
                position: relative;
                width: 300px;
                height: 80px;
                line-height: 60px;
                background: #D7E7FC;
                border-radius: 4px;
            }
            .arrow {
                position: absolute;
                color: #D7E7FC;
                width: 0px;
                height: 0px;
                line-height: 0px;
                border-width: 20px 15px 0;
                border-style: solid dashed dashed dashed;
                border-left-color: transparent;
                border-right-color: transparent;
                bottom: -20px;
                right: 50%;
            }
            .tooltips {
                position: relative;
                width: 300px;
                height: 80px;
                line-height: 60px;
                background: #D7E7FC;
                border: 1px solid #A5C4EC;
                border-radius: 4px;
            }
            .arrow {
                position: absolute;
                width: 0px;
                height: 0px;
                line-height: 0px;
                border-width: 20px 15px 0;
                border-style: solid dashed dashed dashed;
                border-left-color: transparent;
                border-right-color: transparent;
            }
            .arrow-border {
                color: #A5C4EC;
                bottom: -20px;
                right: 50%;
            }
            .arrow-bg {
                color: #D7E7FC;
                bottom: -19px;
                right: 50%;
            }
        </style>
    </head>
    <body>
        <!--先定義一個相對定位的盒子div:-->
        <div class="tooltips">
            <!--給div盒子添加一個三角型圖標-->
            <div class="arrow "></div>
            <!--給“小三角穿上松緊帶”需要使用兩個三角形疊加的方式-->
            <!--首先我們定義兩個三角形的div,一個背景色和盒子的邊框顏色相同,一個背景色和盒子的背景色一致:-->
            <div class="arrow arrow-border"></div>
            <div class="arrow arrow-bg"></div>
            <!--注意:.arrow-bg和.arrow-border的bottom位置相差為1px(可根據邊框寬度調整)兩個div的順序不可顛倒。-->
        </div>
    </body>
</html>
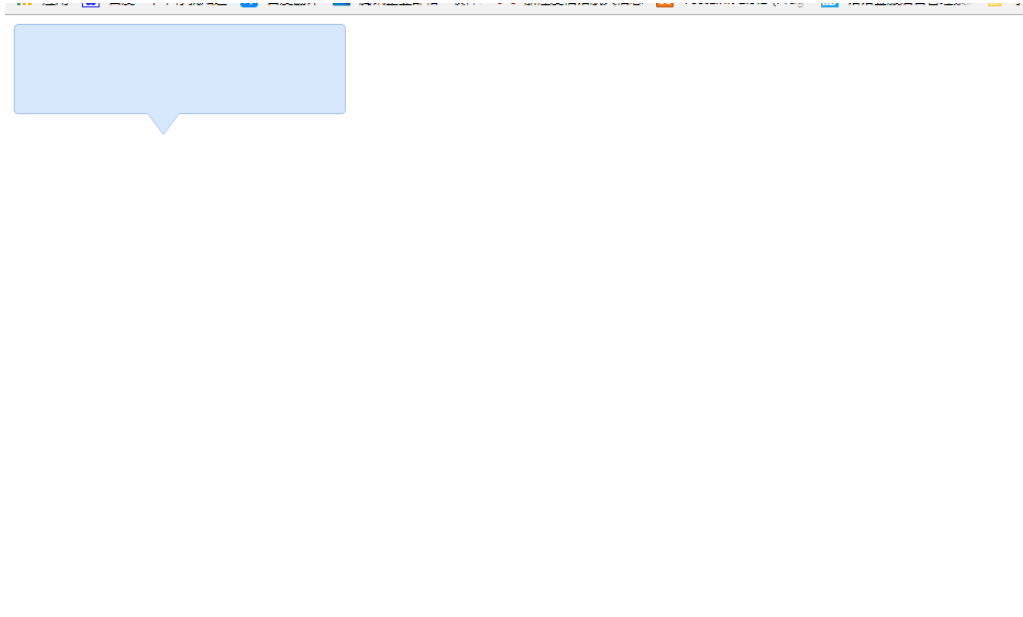
效果展示圖

讀到這里,這篇“div+css樣式怎么實現帶小三角的tooltips效果”文章已經介紹完畢,想要掌握這篇文章的知識點還需要大家自己動手實踐使用過才能領會,如果想了解更多相關內容的文章,歡迎關注億速云行業資訊頻道。
免責聲明:本站發布的內容(圖片、視頻和文字)以原創、轉載和分享為主,文章觀點不代表本網站立場,如果涉及侵權請聯系站長郵箱:is@yisu.com進行舉報,并提供相關證據,一經查實,將立刻刪除涉嫌侵權內容。