您好,登錄后才能下訂單哦!
您好,登錄后才能下訂單哦!
簡介
現在市面上的apk只要涉及用戶中心都會有頭像,而且這個頭像也是可自定義的,有的會采取讀取相冊選擇其中一張作為需求照片,另一種就是調用系統攝像頭拍照并獲取即時照片,本博文就是講述如何調用攝像頭拍照并顯示在指定的控件上。
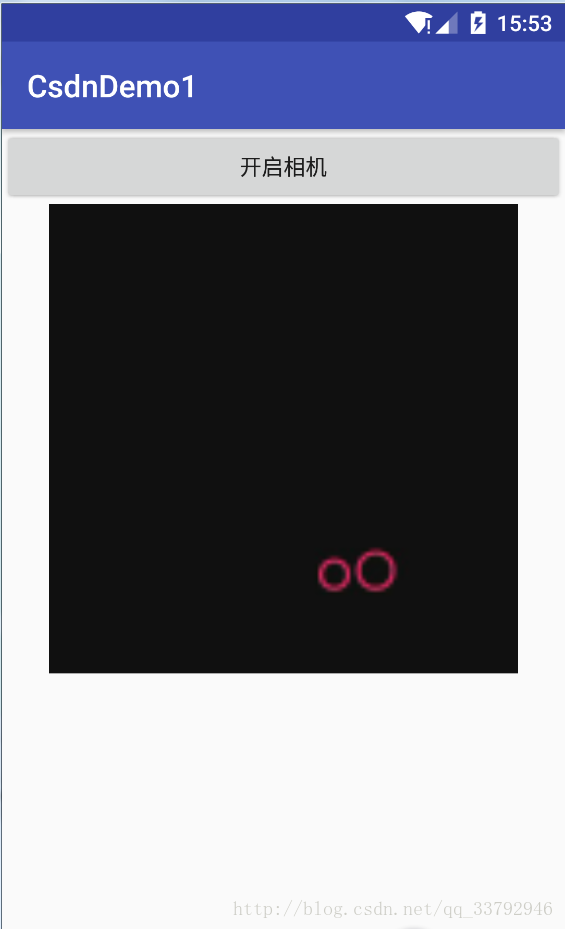
先來看看效果圖

由于這里我用的是模擬器沒有攝像頭,所以拍照是黑的,至于里面2個紅色圓圈那是Genymotion自帶的標志。
實現起來比較簡單:
activity_main.xml
<?xml version="1.0" encoding="utf-8"?>
<LinearLayout
 xmlns:android="http://schemas.android.com/apk/res/android"
 xmlns:tools="http://schemas.android.com/tools"
 android:layout_width="match_parent"
 android:layout_height="match_parent"
 android:orientation="vertical"
 tools:context="com.cc.csdndemo1.MainActivity">

 <Button
 android:id="@+id/takephotoTV"
 android:text="開啟相機"
 android:gravity="center"
 android:layout_width="match_parent"
 android:layout_height="wrap_content" />

 <ImageView
 android:layout_gravity="center"
 android:id="@+id/imageIV"
 android:layout_width="300dp"
 android:layout_height="300dp"/>

</LinearLayout>
布局文件最外層一個垂直排列的LinearLayout,里面放著一個Button和ImageView控件。
MainActivity.class
package com.cc.csdndemo1;

import android.content.Intent;
import android.graphics.Bitmap;
import android.os.Bundle;
import android.support.v7.app.AppCompatActivity;
import android.widget.Button;
import android.widget.ImageView;

import butterknife.BindView;
import butterknife.ButterKnife;
import butterknife.OnClick;

public class MainActivity extends AppCompatActivity {


 @BindView(R.id.takephotoTV)
 Button takephotoTV;
 @BindView(R.id.imageIV)
 ImageView imageIV;

 private final int CAMERA_REQUEST = 8888;

 @Override
 protected void onCreate(Bundle savedInstanceState) {
 super.onCreate(savedInstanceState);
 setContentView(R.layout.activity_main);
 ButterKnife.bind(this);
 }


 @OnClick(R.id.takephotoTV)
 public void onClick() {
 Intent cameraIntent = new Intent(android.provider.MediaStore.ACTION_IMAGE_CAPTURE);
 startActivityForResult(cameraIntent, CAMERA_REQUEST);
 }

 @Override
 protected void onActivityResult(int requestCode, int resultCode, Intent data) {
 if (requestCode == CAMERA_REQUEST && resultCode == RESULT_OK) {
 Bitmap photo = (Bitmap) data.getExtras().get("data");
 imageIV.setImageBitmap(photo);
 }
 }
}
我們來分析下activity的代碼,首先我們使用ButterKnife一鍵注入代碼,免去手動findViewById()并設置button的點擊事件,對ButterKnife不熟悉的同志可以查看Android Studio使用ButterKnife和Zelezny,點擊事件觸發后調用系統的action開啟攝像頭拍照界面,在這里面我們要注意startActivityForResult必須使用這個方法來回調,第一個參數為intent,第二個參數為自定義的Int型標志,重寫onActivityResult(),判斷requestCode == CAMERA_REQUEST && resultCode == RESULT_OK,最后獲取Bitmap,設置給imageview。
博文內容比較簡單,但很實用,不積跬步無以至千里,希望對需要的朋友有一定的幫助。
完整的參考代碼
以上就是本文的全部內容,希望對大家的學習有所幫助,也希望大家多多支持億速云。
免責聲明:本站發布的內容(圖片、視頻和文字)以原創、轉載和分享為主,文章觀點不代表本網站立場,如果涉及侵權請聯系站長郵箱:is@yisu.com進行舉報,并提供相關證據,一經查實,將立刻刪除涉嫌侵權內容。