您好,登錄后才能下訂單哦!
您好,登錄后才能下訂單哦!
發短信的功能對于一個需要渠道擴展的APP來說,必不可少。但是,當第一次看到這個需求時,我卻一臉懵逼,因為之前并沒有接觸過,出于對未知事物的恐懼,被分配做這個任務的時候其實我是拒絕的,但是,沒辦法誰讓我是小兵一個呢,只能硬著頭皮強上了。在查閱了一番資料之后,發現這個功能做起來其實非常簡單,不到十分鐘就可以解決。下面我們就來聊一下如何實現這個功能。
首先,我們來介紹一個最為簡單的方法,只需要一行代碼就可以搞定,代碼如下:
[[UIApplication sharedApplication] openURL:[NSURL URLWithString:@"sms://800888"]];
但是,這段代碼雖然簡單,缺陷卻也明顯,這段代碼屬于程序外部調用,也就是跳出app程序本身,利用手機短信功能發送短信,在發送短信頁面點擊取消按鈕時,回到的是手機短信功能頁面,而不是app程序。而且,此方法也不能傳入默認的短信文本,需要自己手動輸入,很可能無法滿足需求。所以:
我們需要知道的一點是,蘋果官方在發送短信功能方面有一個框架,叫做MessageUI,此框架可以解決上述一切問題,而且輕松方便容易實現,下面我們就來介紹一下這個框架的使用:
在吃大餐之前,讓我們先來幾道前菜:
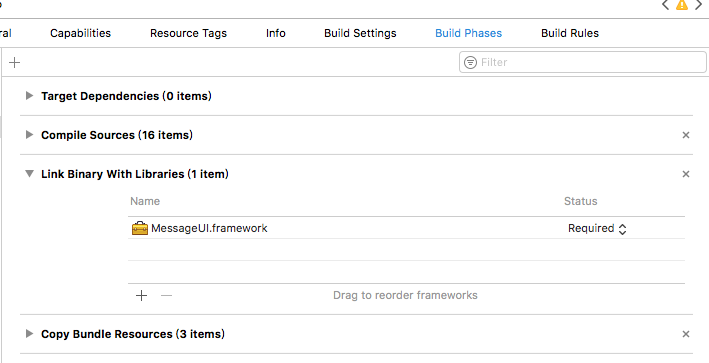
導入框架:MessageUI.framework

2.導入頭文件:#import <MessageUI/MessageUI.h>
3.添加協議:<MFMessageComposeViewControllerDelegate>

添加完協議之后,我們首先想到的就是實現協議方法,可是還不能急,我們還得檢測一下設備是否可以發送短信。如下:
- (void)showSMSPicker:(id)sender
{
   /**
   您必須檢查當前設備是否可以在嘗試創建一個MFMessageComposeViewController的實例之前發送短信
   。 如果設備無法發送短信,
   [[MFMessageComposeViewController alloc] init]將返回nil。 您的應用程式用一個空視圖控制器調用
   -presentViewController時會導致崩潰。
   **/
  if ([MFMessageComposeViewController canSendText])
    // The device can send email.
  {
    [self displaySMSComposerSheet];
  }
  else
    // The device can not send email.
  {
    self.feedbackMsg.hidden = NO;
    self.feedbackMsg.text = @"Device not configured to send SMS.";
  }
}

- (void)displaySMSComposerSheet
{
  MFMessageComposeViewController *picker = [[MFMessageComposeViewController alloc] init];
  picker.messageComposeDelegate = self;

  //您可以指定一個或多個預配置的收件人。 用戶有從消息編輯器視圖中刪除或添加收件人的選項控制器
  //您可以指定將出現在消息編輯器視圖控制器中的初始消息文本。

  picker.recipients = @[@"Phone number here"];//發短信的手機號碼的數組,數組中是一個即單發,多個即群發。
  picker.body    = @"Hello from California!"; //短信主體內容

  [self presentViewController:picker animated:YES completion:NULL];
}
檢測是否可以發送短信,還是需要有一個觸發事件的,代碼如下:
- (void)viewDidLoad {
  [super viewDidLoad];
  // Do any additional setup after loading the view, typically from a nib.

  UIButton * button = [[UIButton alloc]initWithFrame:CGRectMake(140, 100, 100, 100)];
  button.backgroundColor = [UIColor blackColor];
  [button setTitle:@"發送短信" forState:UIControlStateNormal];
  [button setTitleColor:[UIColor whiteColor] forState:UIControlStateNormal];
  [button addTarget:self action:@selector(showSMSPicker:) forControlEvents:UIControlEventTouchUpInside];
  [self.view addSubview:button];

  UILabel * feedbackMsg = [[UILabel alloc]initWithFrame:CGRectMake(10, 300, self.view.frame.size.width -20, 30)];
  feedbackMsg.textAlignment = NSTextAlignmentCenter;
  [self.view addSubview:feedbackMsg];
  self.feedbackMsg = feedbackMsg;
}
嗯,到了實現協議方法的時候了:
// -------------------------------------------------------------------------------
// messageComposeViewController:didFinishWithResult:
// Dismisses the message composition interface when users tap Cancel or Send.
// Proceeds to update the feedback message field with the result of the
// operation.
// 當用戶點擊取消或發送時,關閉消息組合界面。
// 收到更新反饋消息字段的結果操作。
// -------------------------------------------------------------------------------
- (void)messageComposeViewController:(MFMessageComposeViewController *)controller
       didFinishWithResult:(MessageComposeResult)result
{
  self.feedbackMsg.hidden = NO;
  // Notifies users about errors associated with the interface
  // 通知用戶與界面相關的錯誤
  switch (result)
  {
    case MessageComposeResultCancelled: //取消
      self.feedbackMsg.text = @"Result: SMS sending canceled";
      break;
    case MessageComposeResultSent: //發送
      self.feedbackMsg.text = @"Result: SMS sent";
      break;
    case MessageComposeResultFailed: //失敗
      self.feedbackMsg.text = @"Result: SMS sending failed";
      break;
    default: //默認
      self.feedbackMsg.text = @"Result: SMS not sent";
      break;
  }

  [self dismissViewControllerAnimated:YES completion:NULL];
}
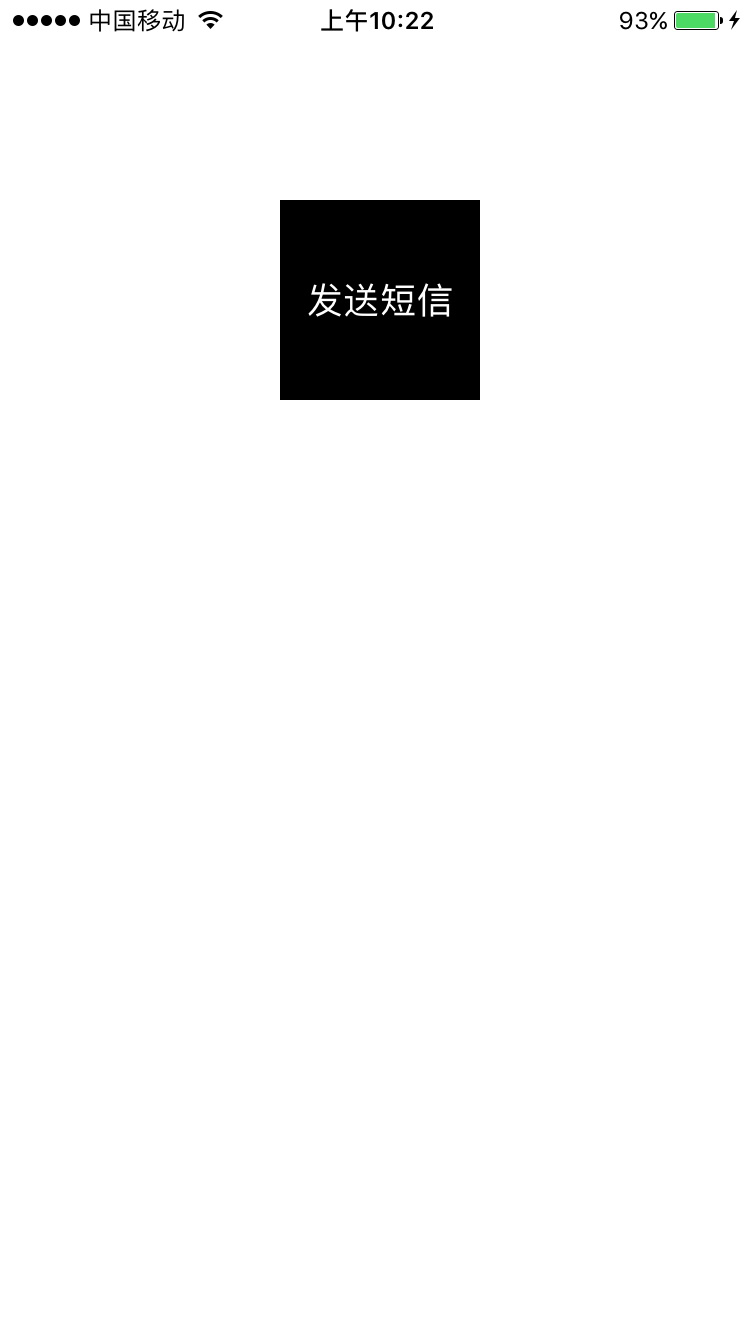
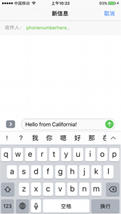
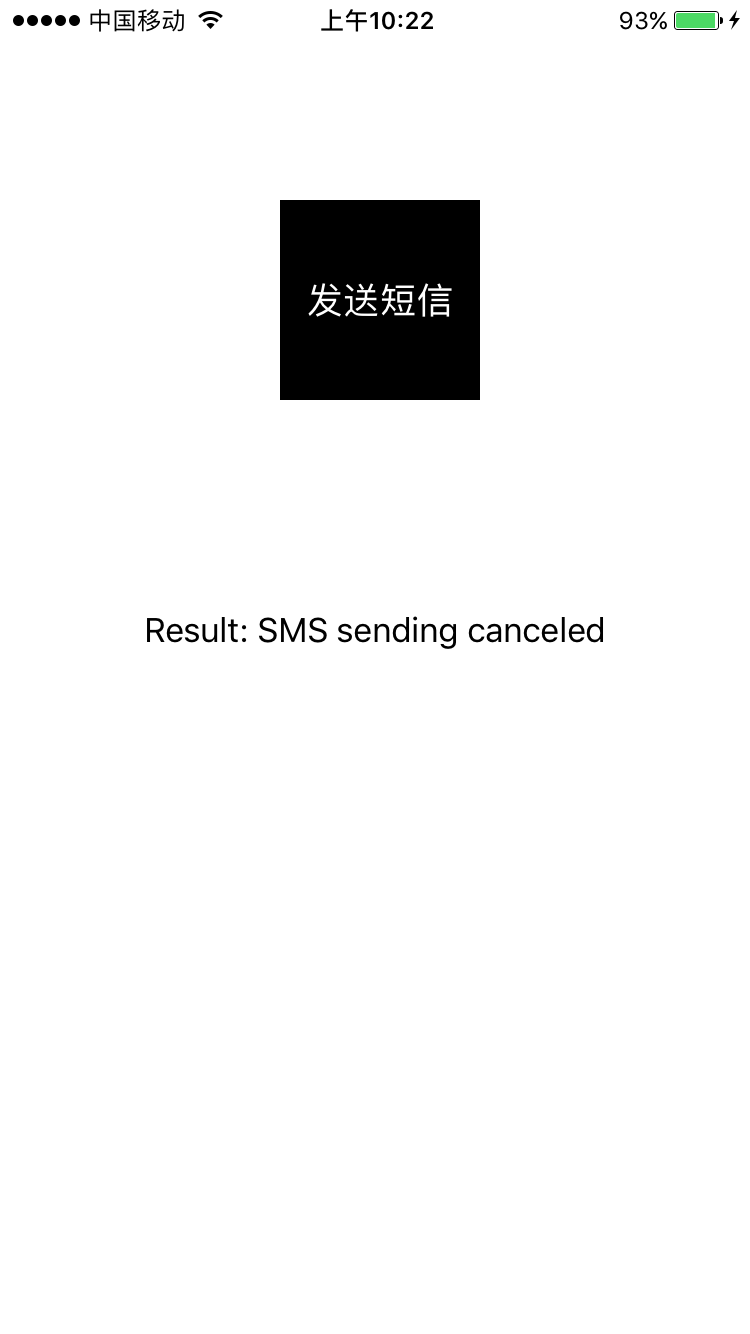
Demo運行結果如下:


至此,我們的發送短信功能就實現了,是不是很簡單!但是,當年也是慫過啊,所以,特寫此文,以紀念當年慫過的日子。
參考文章
官方文檔
以上就是本文的全部內容,希望對大家的學習有所幫助,也希望大家多多支持億速云。
免責聲明:本站發布的內容(圖片、視頻和文字)以原創、轉載和分享為主,文章觀點不代表本網站立場,如果涉及侵權請聯系站長郵箱:is@yisu.com進行舉報,并提供相關證據,一經查實,將立刻刪除涉嫌侵權內容。