您好,登錄后才能下訂單哦!
您好,登錄后才能下訂單哦!
這篇文章主要介紹了React-router v4路由配置的示例分析,具有一定借鑒價值,感興趣的朋友可以參考下,希望大家閱讀完這篇文章之后大有收獲,下面讓小編帶著大家一起了解一下。
一. Switch 、Router 、Route三者的區別
1、Route
Route 是建立location 和 ui的最直接聯系
2、Router
react-router v4 中,Router被拆分成了StaticRouter、MemoryRouter、BrowserRouter、HashRouter、NativeRouter。
MemoryRouter、BrowserRouter、HashRouter 等于
import { Router } from 'react-router'
<!--這里可以有三種-->
<!--history 部分源碼
exports.createBrowserHistory = _createBrowserHistory3.default;
exports.createHashHistory = _createHashHistory3.default;
exports.createMemoryHistory = _createMemoryHistory3.default;
-->
import createBrowserHistory from 'history/createBrowserHistory'
//
const history = createBrowserHistory()

<Router history={history}>
 <App/>
</Router>
NativeRouter(給rn使用的)
A <Router> for iOS and Android apps built using React Native.
這里新增strict 和 exact
使用了strict location 大于等于path才能匹配,eq path='/one' location='/one/a'能匹配。
使用了exact location 約等于 path 才能匹配,eq path='/one' location='/one'或者 '/one/'能匹配,所以說是約等于。
使用了exact 和 strict location = path才能匹配
StaticRouter(后續補充)
3、Switch
這是v4版本中新添加,主要用來做唯一匹配的功能。就是想要在眾多路由中只匹配其中一個路由。
二、v4 版本中路由應該如何配置呢?
1.基本配置(這個和v3中基本一致,效果也基本一樣)
匹配 <= location eq.( /b => / + /b ) ( / => / )
 <BrowserRouter forceRefresh={!supportsHistory} keyLength={12}>
   <div>
     <Route path="/" component={aContainer} />
     <Route path="/b" component={bContainer} />
   </div>
  </BrowserRouter>
2.含Switch 配置
匹配 <= location eq.( /b => /b ) ( / => / ) 唯一匹配
 <BrowserRouter forceRefresh={!supportsHistory} keyLength={12}>
   <Switch>
       //這里用exact,僅僅是擔心location被 path='/'截胡了。
     <Route exact path="/" component={aContainer} />
     <Route path="/b" component={bContainer} />
   </Switch>
  </BrowserRouter>
問題(三個問題)
1.如何設置公共的Component
第一種方式
 <BrowserRouter forceRefresh={!supportsHistory} keyLength={12}>
   <div>
     <Route path="/" component={aContainer} />
     <Route path="/b" component={bContainer} />
   </div>
  </BrowserRouter>
第二種方式(父子嵌套)
 <BrowserRouter forceRefresh={!supportsHistory} keyLength={12}>
   <div >
    <Route path="/" component={aContainer} />
    <Route path="/b" component={Parent} />
    {/* {app()} */}
   </div>
  </BrowserRouter>
const Parent = ({ match }) => (
<div>
<Route path={`${match.url}/`} component={bContainer} />
<Route path={`${match.url}/c`} component={cContainer} />
<Route path={`${match.url}/d`} component={dContainer} />
</div>
);這種情況 bContainer就是是公用的Component
2.如何設置getComponent,按需加載
另一篇文章
3.是否有簡化寫法
npm install --save react-router-config
第一步 配置路由
const routes = [
 { component: bContainer,
  routes: [
   { path: '/',
    exact: true,
    component: bContainer
   },
   { path: '/b/b',
    component: bContainer,
    routes: [
     { path: '/b/b/b',
      component: bContainer
     }
    ]
   }
  ]
 }
]
第二步 設置路由
<BrowserRouter forceRefresh={!supportsHistory} keyLength={12}>
   <div >
     {renderRoutes(routes)}
   </div>
 </BrowserRouter>
第三步 需要在container的render中去調用方法
 <div>
 1111
 {renderRoutes(this.props.route.routes)}
</div>
這個優勢是可以統一配置,劣勢是需要在container中統一調用,但是這個抽出來統一實現,問題也不大,并且還可以解決 問題一。
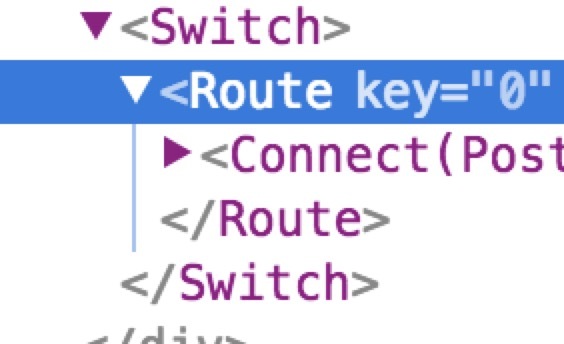
這個renderRoutes實際是就是用一層Switch和多個Route來包了一層。

感謝你能夠認真閱讀完這篇文章,希望小編分享的“React-router v4路由配置的示例分析”這篇文章對大家有幫助,同時也希望大家多多支持億速云,關注億速云行業資訊頻道,更多相關知識等著你來學習!
免責聲明:本站發布的內容(圖片、視頻和文字)以原創、轉載和分享為主,文章觀點不代表本網站立場,如果涉及侵權請聯系站長郵箱:is@yisu.com進行舉報,并提供相關證據,一經查實,將立刻刪除涉嫌侵權內容。